
Old Fashioned Sourdough Doughnuts
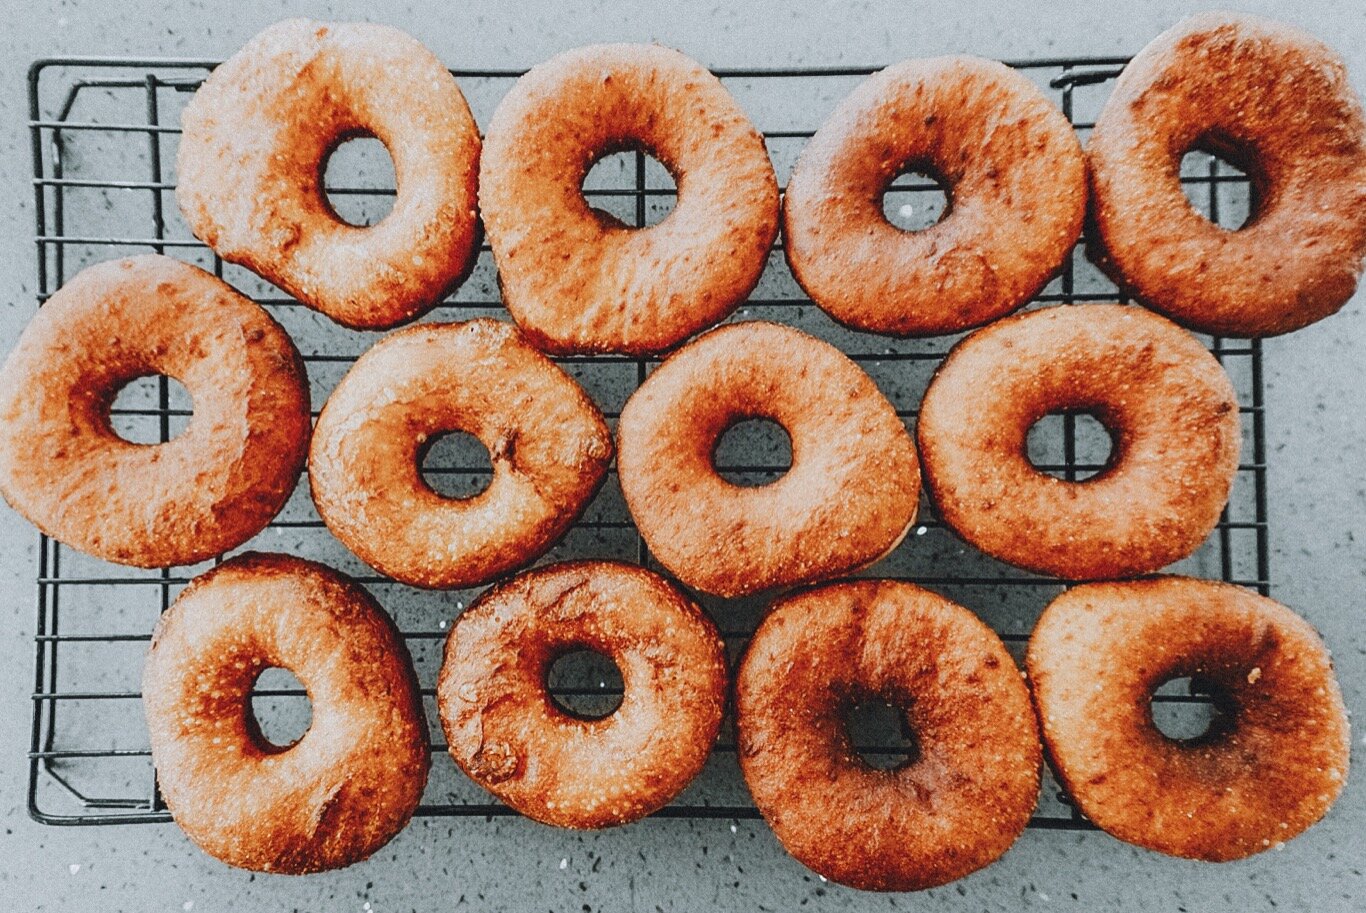
Yields: 12 doughnuts
A big THANK YOU to Calvin (@crustycalvin) who was so kind to develop this recipe using our flour. It has been ever so slightly adapted from his original recipe.
Sourdough doughnuts, sourdough donuts or sourdoughnuts? I know there are different opinions on the correct spelling, but regardless of the way you spell it, these doughnuts are a thing of beauty. They are light and airy, not overly sweet and you can decorate them any way you would like - so go nuts! Plus, these are easier to make than you may think, as with most things sourdough there is a lot of waiting, but the results are most definitely worth it.

300g Anita Organic All Purpose Flour
60g levain or discard
145g milk (i use 2%)
1 large egg
50g liquid honey
56g (1/2 a stick) melted unsalted butter
3g salt
oil for frying
doughnut glaze opt.

Overnight levain Build, or discard from the fridge
7:00am: Mix all the wet ingredients and melted butter in a bowl (I microwave briefly until warm). Add everything else and mix well. With a stand mixer and a dough hook, mix on low for approximately 4 minutes. You want it to be getting pretty smooth and elastic by the end. Do not worry about full gluten development at this stage. You can also knead or “slap and fold” the dough for this step.
Perform two or three “Coil Folds” or “Stretch and folds” to the dough, roughly an hour apart. After your last fold the dough should be very extensible and you will be able to pull it very thin before it breaks (this is called the “windowpane” test). This demonstrates that the gluten has developed well and the dough is strong.
1:00pm: Gently stretch out dough into a somewhat flat square, cover with plastic and place the dough in the fridge overnight. The cold dough will be much easier to roll out in the next step. If you are in a rush you can put the dough in the freezer for an hour to cool it down before rolling out. If you do this you can go straight to the next step and you’ll have freshly made doughnuts for dinnertime!
Next Day
9:00am: Lightly flour your work surface and roll the dough out until it is about a 1/4” thick. Use as much flour as necessary but try not to overdo it. Once rolled out you can then cut out your doughnut shapes. For this I just use a 3.5” water glass to punch out the circle and another small 1” container to knock out the middle. When you cut out as many circles as you can, gather the scraps of dough, and make a tight ball. Roll out and repeat until there is no dough left. Put the doughnut circles on a lightly floured piece of parchment, cover with plastic and place somewhere warm to proof.
12:00pm-2:00pm: Keep an eye on your dough. Knowing when to fry the doughnuts is the most important part of getting great results. You want the dough to be visibly puffy and larger than this morning when you cut them out. When you put then in the oil they need to be proofed to the point that there is enough gas in them to float. Once they start looking plump you should get your oil ready to fry. I use a 5 quart Lodge Dutch Oven for this. You are looking for a temperature between 350-375°F.
Frying: I like to fry a few of the little doughnut holes first. These will give you a good idea if the dough is actually ready to fry. If they just sink straight to the bottom and stay there then you need to wait a little longer. You want them to float the whole time. If you put them in and they sink but pop up right away them they will be fine also. I fry the doughnuts for about a minute per side, but watch them carefully. You want them to have a nice dark golden colour, although as with most of my baking I like to go a little darker than some might think is ideal! Once fried on both side transfer to a wire cooling rack to drain off any excess oil.
Once all the doughnuts have cooled down you can dip them in any glaze you want and decorate them , or lightly dust with sugar, or have them as they are old fashioned doughnut style!
Notes
Sometimes you can carefully peel off the dough and place into the oil by hand. Other times, if very proofed, it will resist and not want to come off. This is when the parchment paper can save you. Simply cut the paper into sections and place upside down in the oil, the parchment paper may slowly peel off at this point, or you might need to carefully coax it off with a spatula or spoon. See pictures below for reference.