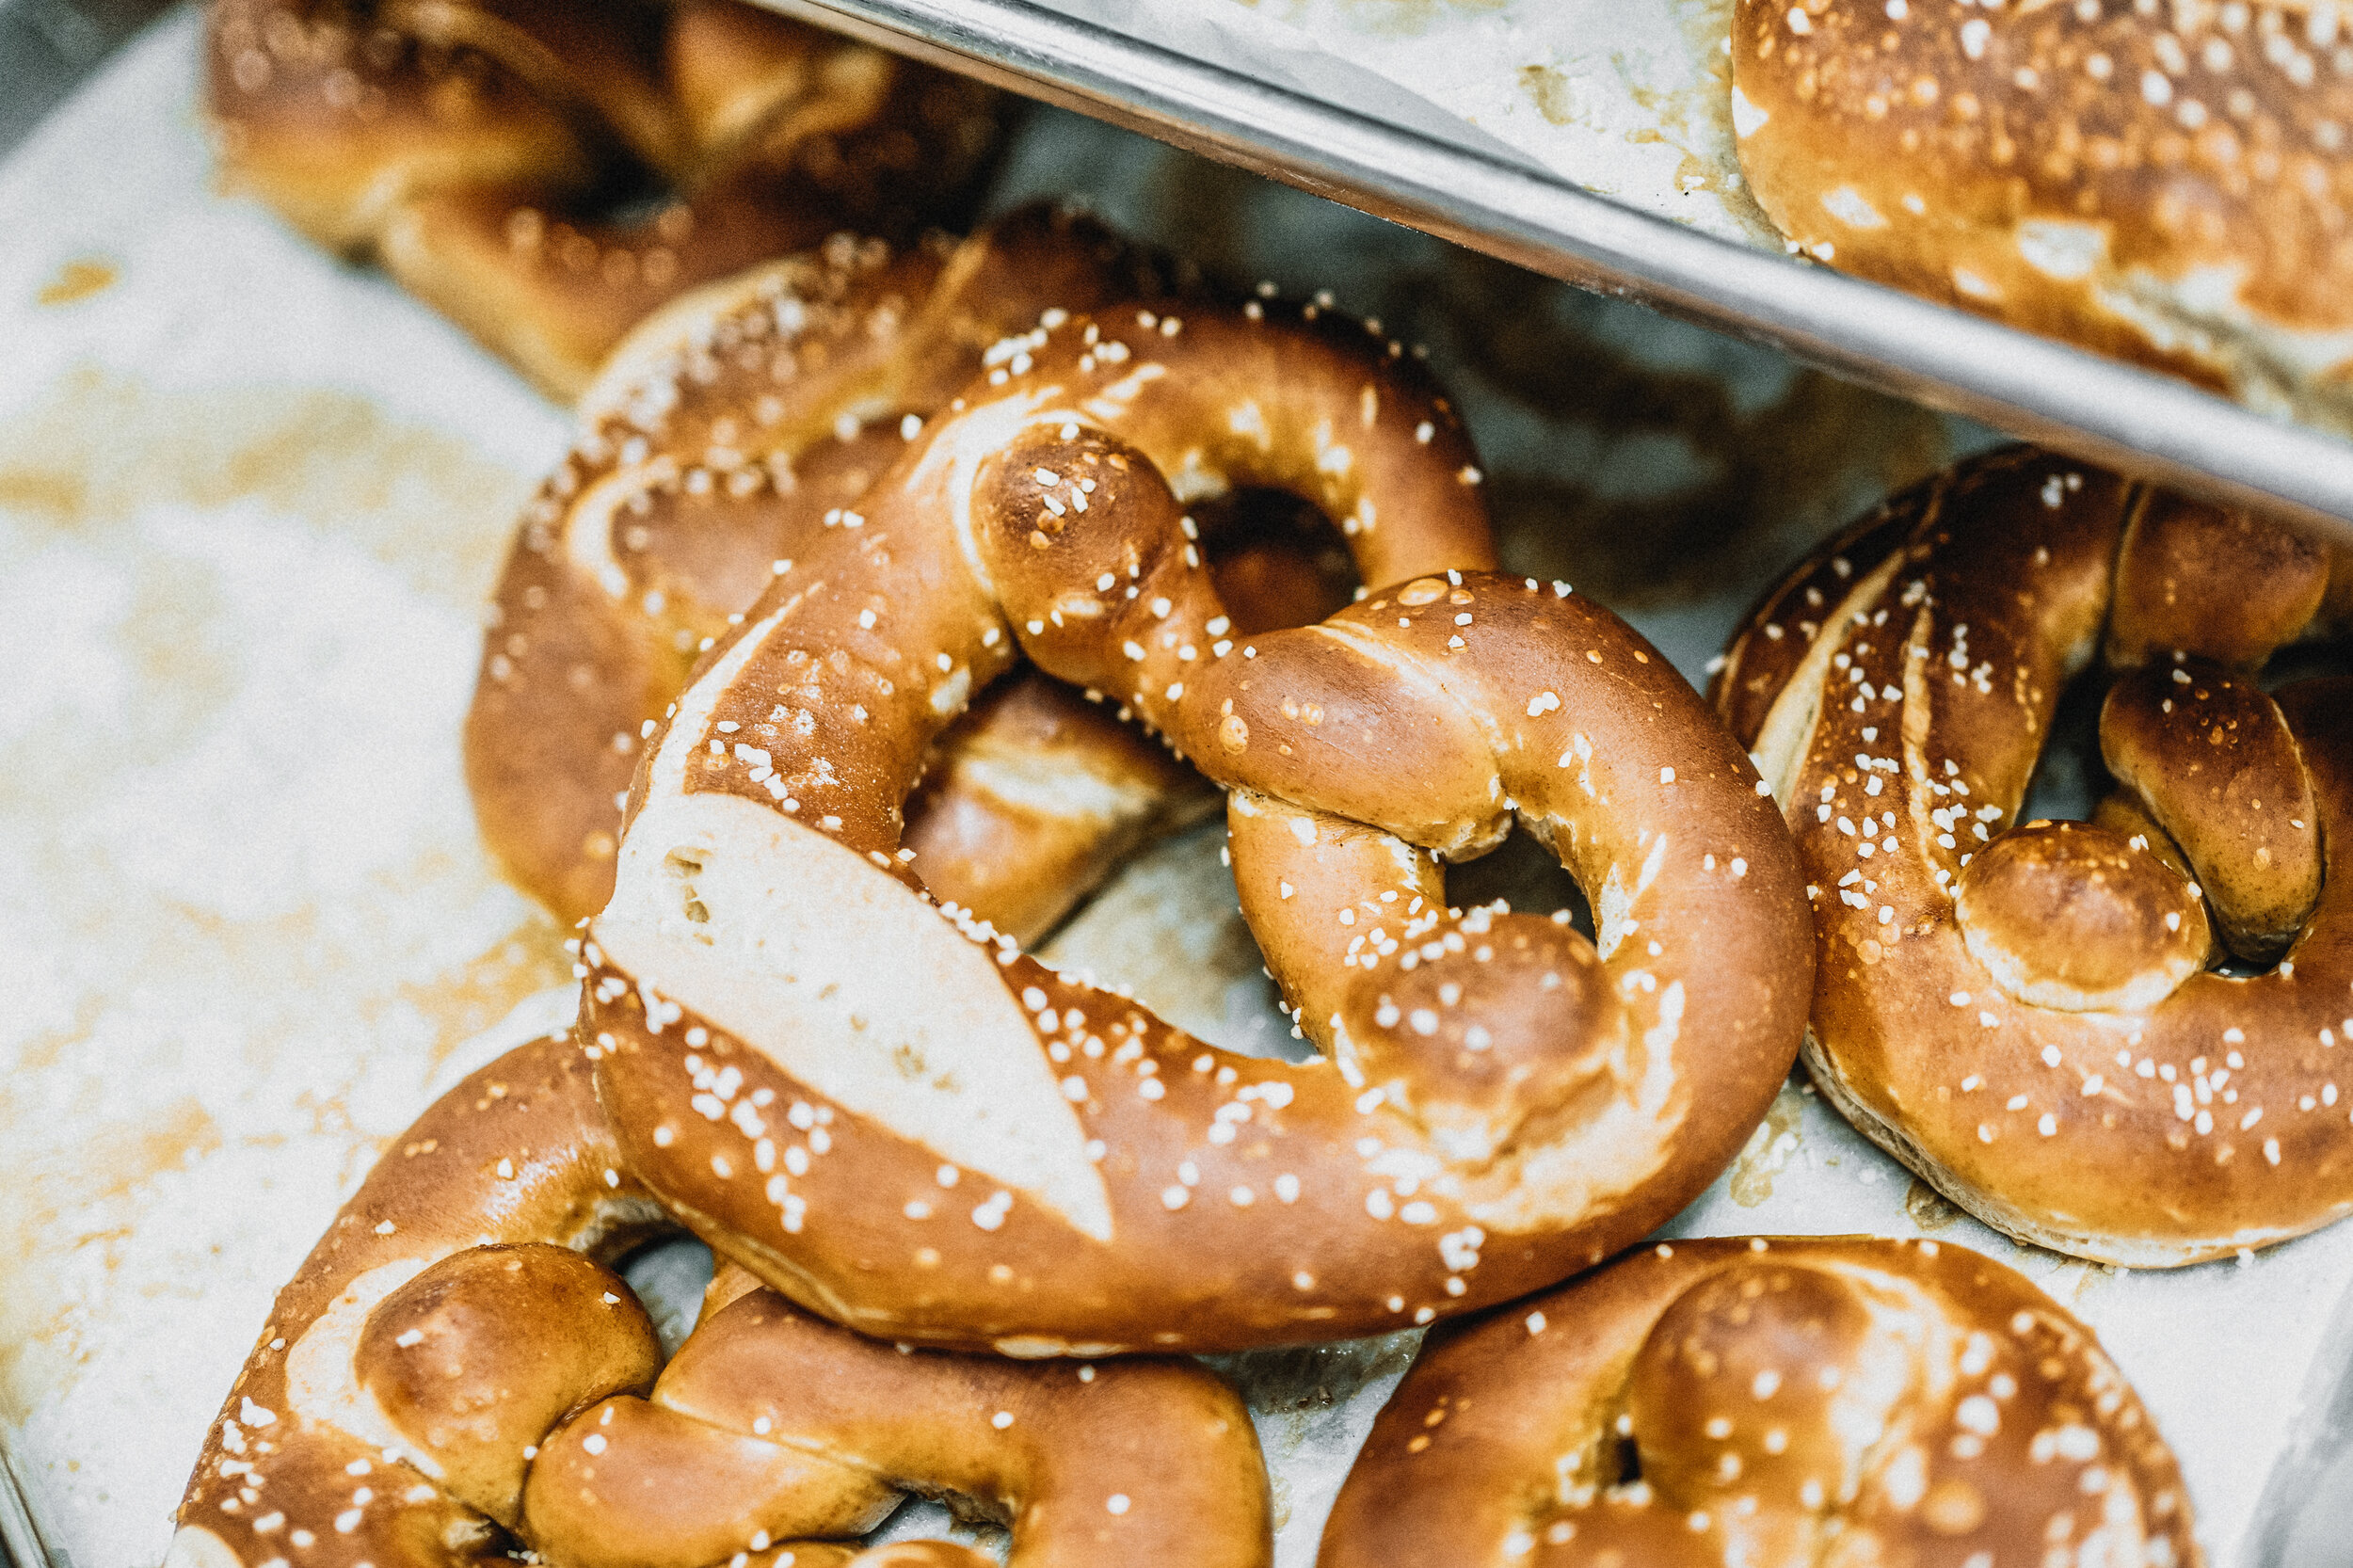
German Soft Pretzels
Yields: 12-14 (175g) Loaves
Create an authentic German soft pretzel at home! While there are many simplified versions of pretzel recipes available on the internet, this more advanced recipe will help you create the truly best pretzel you’ve ever eaten. Don’t worry if the recipe sounds daunting; it’s not as hard as it seems.
Biga
160g Anita’s All Purpose Flour
80g Water at room temperature
Small pinch of yeast
Levain
160g Anita’s All Purpose Flour
80g Water at room temperature
15g (2t) Mature sourdough starter
Final Dough
1120g Anita’s All Purpose Flour
170g Anita’s Whole Grain Rye Flour
712g Water, lukewarm (85-90F)
81g soft butter
30g fine sea salt
3g (1t) diastatic malt powder (optional)
Lye Solution
2L cold water
80g Food Grade Lye crystals
Topping
Pretzel salt or coarse kosher salt
The night before baking, prepare the biga and the levain. Mix the ingredients for each in two separate containers with loose fitting lids until no dry bits remain and allow them to ferment at room temperature for 12 hours.
Mix all of the ingredients for the final dough as well as the biga and levain together. This is a very stiff dough, so unless you have a powerful mixer it is best to do this by hand. Work all of the ingredients together and then knead on the counter (unfloured or use as little flour as possible) for 10-12 minutes until the ball is very smooth and elastic.
Place the dough in a large, oiled container with a lid and ferment for 1.5 hours.
Spread the dough out on the counter and divide into 14 175g pieces. Aim to divide the dough into rectangular pieces with as few cuts as possible.
To shape the pretzel, place the square of dough on the counter in front of you. Gently degas the dough by patting it down. Fold the top 1/3 of the dough down towards you and press to seal in the center of the rectangle of dough. Fold over again to the bottom and seal the seam with the heal of your hand. You should now have a short cylinder of dough in front of you.
With both hands, roll out the dough and lengthen it leaving the center thick, thinning out considerably towards the ends, and leaving a small nub on either end. Roll the dough out to approximately 16 inches.
The next step requires practice but achieves better results than twisting the pretzel on the table. Watch the video to see how it’s done. Grab the string of dough with one hand on each end. Lift the dough up and spin it so it twists over itself twice and then lay it down on the table. Take each of the ends and bring them up and press them into the sides of the pretzel. Place on a lightly oiled parchment-lined cookie sheet.
Allow the pretzels to rise on the counter for 30 minutes uncovered, and then refrigerate for 30 minutes uncovered. The cold dough, as well as the slightly dried skin, allow the pretzel to hold its shape in the lye bath.
Preheat the oven to 450F.
Get set up for the lye bath. Wear gloves, a long shirt, and safety glasses. Add 2 litres of cold water to the bowl and then slowly add the 80g of lye crystals. Stir gently with a stainless steel whisk or spoon, being very careful not to splash. If you are worried about spilling on the counter, place the bowl on a large metal (not coated) cookie sheet to catch drips.
Next to the lye bath, set up a wire cooling rack on top of a large metal (not coated) cookie sheet.
Dip each pretzel in the lye bath for approximately 5 seconds making sure the whole surface is exposed to the lye. Immediately place the pretzel on the wire rack so excess lye can drip off. Place the pretzels back on the parchment lined cookie sheet.
Sprinkle with salt and then score the pretzel with a razor blade at the thickest part before placing in the oven.
Bake the pretzels for 15-18 minutes until nicely browned.
Notes
This recipe uses 10% rye flour, and both a biga preferment and sourdough levain to really maximize the flavour development. Making a true pretzel involves dipping the pretzel in a lye solution prior to baking. The lye not only gives the pretzel its characteristic thin, shiny brown crust, but it is also very important for achieving that authentic flavour. You can find recipes that substitute lye for baking soda or baked baking soda, but it is well worth the effort to go the extra mile and use lye. I often have people worried that that the lye is going to make them sick; rest assured the lye undergoes a complete transformation in the oven through heat and moisture and is neutralized.
Some important pointers before you begin about working with lye: Make sure to use food grade lye which can be found online or at soap-making suppliers. Lye solution is very caustic so take appropriate safety measures such as wearing glasses, rubber gloves, and long sleeves. Thoroughly rinse your skin and clothing with cold water immediately if contact occurs. When mixing the lye solution use cold water, and add the lye to the water--not the other way around. Use a stainless steel bowl and a stainless steel whisk or spoon to carefully mix the solution. When you are done, the leftover solution can be poured down the toilet. Lye will discolour and even burn countertops and non-stainless steel surfaces, so be careful as you work!


